
11 Vegetables and Fruits to Grow Over and Over at Home
Don’t throw away the remains of your vegetables and plants, give them a second life because most of them lend themselves to endless cultivation. You will thus grow your own products which will have a flavor like no other and Mother Nature will thank you. The remains of your plants and vegetables will no longer be wasted, so you will move towards Zero Waste mode! Plant propagation is within the reach of any amateur gardener, nothing is thrown away, everything is transformed… It’s up to you to try it.
1 – LEEK
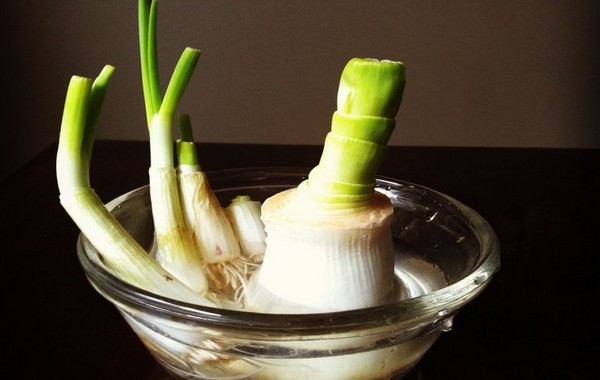
The leek also has a very rapid vegetative propagation. With his techniques, you will only harvest the greens of the leek.
Keep the base of your leeks and immerse it in water, with the small filaments facing down. Change the water regularly and wash the roots once a week. When the leek matures, you will have very beautiful green leaves that you can eat.
2 – LETTUCE
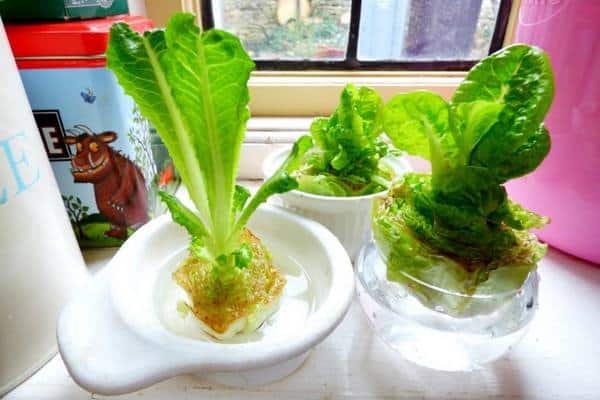
Any head lettuce grows back easily. By simply cutting off the base of the head of lettuce, you will have a piece about an inch tall; place it in a small container with half an inch of water, which you will need to change daily. In (approximately) three to four days it should produce roots and new shoots. Then plant it in the ground or a larger container.
3 – GARLIC

First choose a head of garlic, not necessarily sprouted, and separate the cloves. Then plant them slightly spaced in a pot or planter, with the pointed end upwards, 2.5 cm deep. Add potting soil on top and water once a week. Expose the pot to the sun.
4 – ONIONS

Growing time: several months
To regrow an onion, simply place the discarded bottom portion in soil and wait for the roots to grow. Remove the old heart and watch how it grows back!
5 – PINEAPPLE
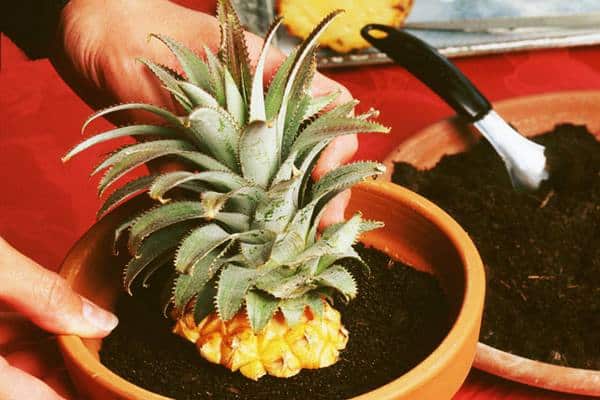
After eating a pineapple instead of throwing it in the trash, you can keep the end of the pineapple (the one with the leaves) to obtain… a new plant, which will later give you new pineapples!
The most important thing is that your pineapple isn’t too ripe or too yellow, because there’s a good chance it won’t work if it is.
The ideal is to do this with a pineapple that is not too ripe, whose leaves are in good shape, very green and not too dry. At worst, if you like sweet, ripe pineapples, there’s nothing stopping you from cutting off the stem and then keeping the fruit in the fridge with plastic wrap so that it slowly finishes ripening!
Simply take your pineapple, cut the top off the fruit and put the tail of the pineapple in water, then expose it to light (near a window, for example). As the days pass, you will see that the leaves begin to dry, and this is normal: if you look closely, new small leaves appear in the center and gradually replace them. Your pineapple is not dead!
After about 1 month, you will see that there are starting to be small roots. You can then plant your pineapple plant in a pot! Take care to remove the leaves which are completely dead beforehand, and which should come off very easily: they will no longer be of any use, and could even cause your plant to rot!
Then, all you have to do is be patient. As the pineapple grows, you can replant it in a larger pot. Not only is it very decorative, but you can enjoy some very fresh pineapples!
6 – TOMATOES
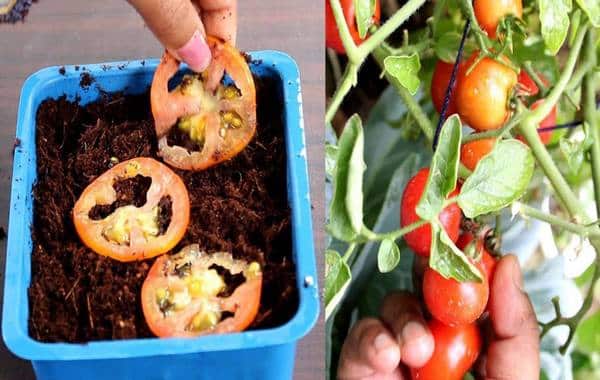
Here is a magical recipe to get tomato plants quickly. Just take one or two tomatoes, an empty plastic bottle, small stones, potting soil, newspaper and finally a large black plastic bag. To start, cut the tomatoes lengthwise and core them. Keep the seeds carefully. Next, cut the plastic bottle lengthwise. Drill a few holes in it so that the water can drain away. Put a few stones at the bottom of the bottle.
Pour the soil into this container and place the seeds. Space them out without spreading them too thin. Then cover the seeds with a thin layer of soil. Don’t add too much so that the seeds can easily come out. The next step is to wet two sheets of newspaper. Wring them out a little so that the newspaper is not too wet. Then place them on the soil so as to cover it completely.
Put everything in the plastic bag and seal it well. The role of the bag is to retain humidity, as if it were a small greenhouse. After 4 or 5 days you can open your homemade greenhouse. The newspaper should still be damp. And surprise! The seeds have germinated. You can now transplant them into pots, like any tomato plant.
You can then place them on your balcony. Avoid overwatering them to avoid rotting the roots.
7 – GINGER
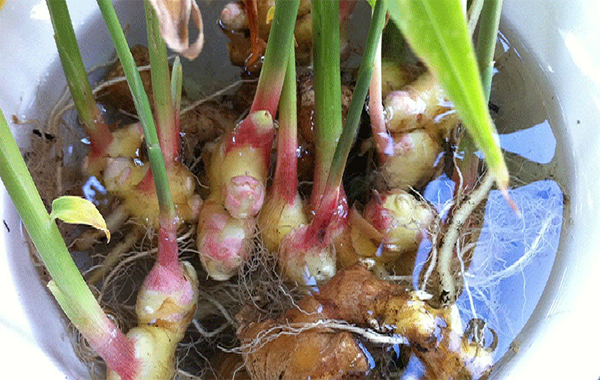
- Soak some leftover ginger in water overnight.
- Pot it in moist soil. Water to keep the soil moist until shoots appear.
- Harvest the ginger plant after about a year. Remove the entire plant, take the desired amount and regrow using the same method.
8 – FENNEL
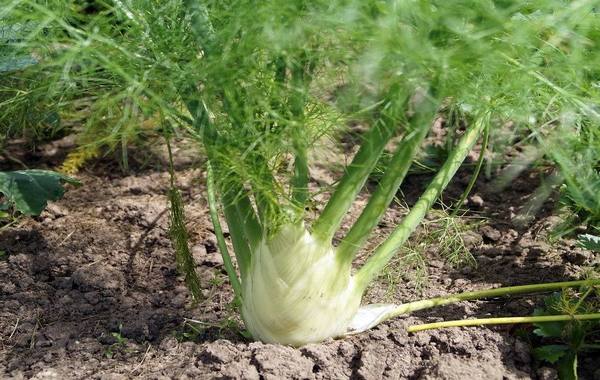
It regrows easily from its remains. To give it a second life, keep the heart of the bulb and place it in a little water, in the sun. Wait a few days and you will then see small shoots appear on the side of the bulb. These are new fennels that are developing.
9 – BASIL
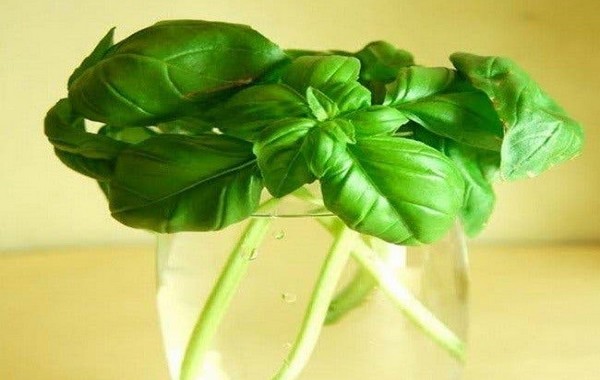
To regrow your basil, keep it with its branches and place it in water. The longer its stem, the easier propagation will be. After a week, the branch will have developed roots. After ten days, you will need to place your basil in the ground and keep it in a sunny location.
10 – LEMONSELLA
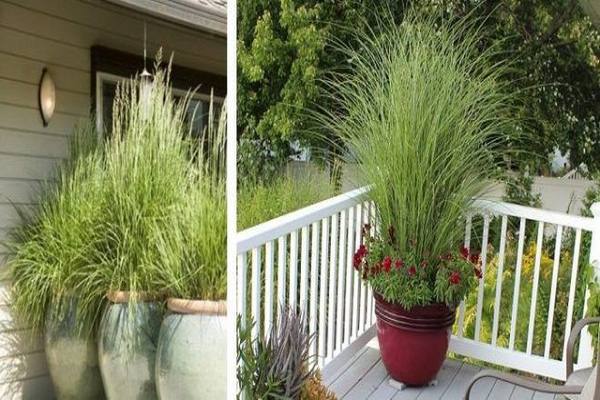
Keep a few stalks of lemongrass and put them in a glass of water, in the sun. You don’t have to put them whole, you can take a few centimeters from the end. They should be very green and still firm.
The stem will produce roots and grow back. Let it reach around thirty centimeters before taking some. It will continue to grow this way but you can also plant it in a pot once the roots have developed.
This exotic aromatic plant has a very fragrant, slightly lemony flavor, which goes wonderfully with rice and vegetables.
11 – CORIANDER
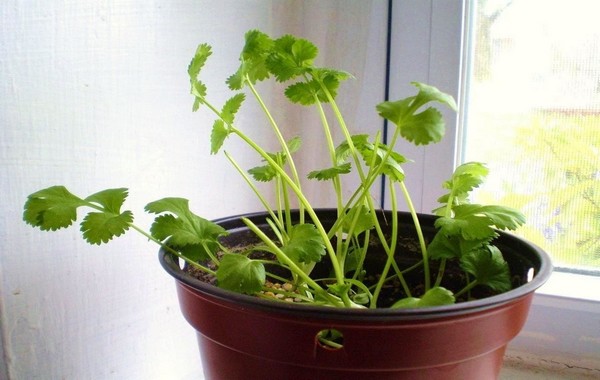
Cilantro is a delicious herb, when added to dishes it instantly gives more flavor. If it grows in the kitchen, it will be easier for you to use it to prepare tasty dishes. To plant it, place the cut stems in a glass of water so that the roots develop. When they are large enough, you can put them in a pot. After a few weeks you will have new leaves, and after a few months a whole plant.