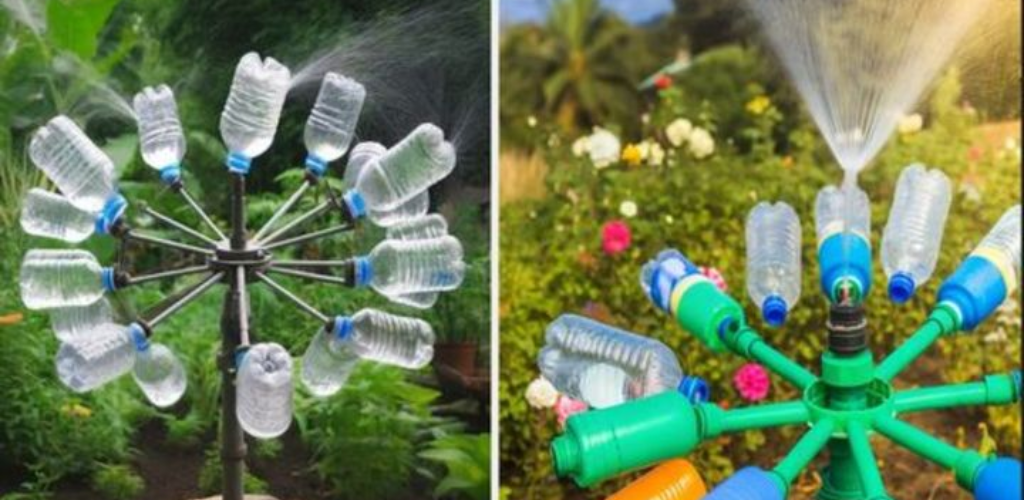
How to make a rotary irrigation system using plastic bottles – 10 cents is enough
1.Gather the materials
Two large plastic bottles (1.5 to 2 liters each)
Bamboo skewer or metal rod
Thin tubes or straws
Thin wire or rope
Scissors or craft knife
Punch or nail
Hot glue gun or waterproof adhesive
2.Prepare the bottles
Clean both bottles.
Cut the top of a bottle (water reservoir).
Cut the bottom of the second bottle and then cut it lengthwise (water wheels).
3.Create the water wheels
Glue the straws or tubes inside the curved pieces.
Make sure the connections are sealed and secure.
4.Rotary system assembly
Insert the skewer or rod through the center of the water reservoir.
Attach the water wheels to the skewer/rod, balancing them. Secure them with rope or wire.
- Make water inlet holes
Punch small holes near the bottom of the water reservoir with a punch or nail.
6.Configure the system
Place the system in your garden.
Raise the water reservoir slightly.
7.Add water
Fill the reservoir. The water will flow through the holes, rotate the wheels and spray water.
8.Maintenance tips
Make sure the water wheels are balanced.
Adjust the size and number of holes to control the water flow.
Check and clean straws/tubes regularly to avoid blockages.
By following these steps, you can create an effective, low-cost rotary irrigation system using plastic bottles.