How to Make Apple Cider Vinegar Using Only Apple Scraps
Making your own apple cider vinegar at home is easy, inexpensive, and a perfect way to reduce waste when using apple scraps. Instead of throwing away the peels, cores, and any other parts of apples that you would normally discard, you can transform them into a flavorful, tangy vinegar. This vinegar can be used for cooking, as a cleaning solution, or even as part of your beauty routine.
Benefits of Using Apple Scraps
Using apple scraps is an eco-friendly option that reduces waste in the kitchen. Apple scraps, such as peels and cores, contain the same nutrients and flavors as whole apples, making them ideal for creating vinegar. Not only does this homemade apple cider vinegar help you get the most out of your produce, but it also has a variety of benefits, from adding flavor to recipes to offering potential health benefits, such as aiding digestion and balancing skin pH. Plus, making it at home ensures you know exactly what’s in it, avoiding additives or preservatives.
Ingredients
To make apple cider vinegar from scraps, you’ll need:
Apple scraps (peels, cores, etc.), ideally from organic apples to avoid pesticide residue.
Filtered water
Sugar (1-2 tablespoons for every cup of scraps; this helps kickstart fermentation)
Step-by-step instructions for homemade apple cider vinegar
Gather and prepare apple scraps
Start by collecting apple peels, cores, and any leftover parts of apples. It’s best to use scraps from organic apples, as they won’t have pesticide residue. You can collect scraps gradually, storing them in the freezer until you have enough for a batch.
Combine ingredients
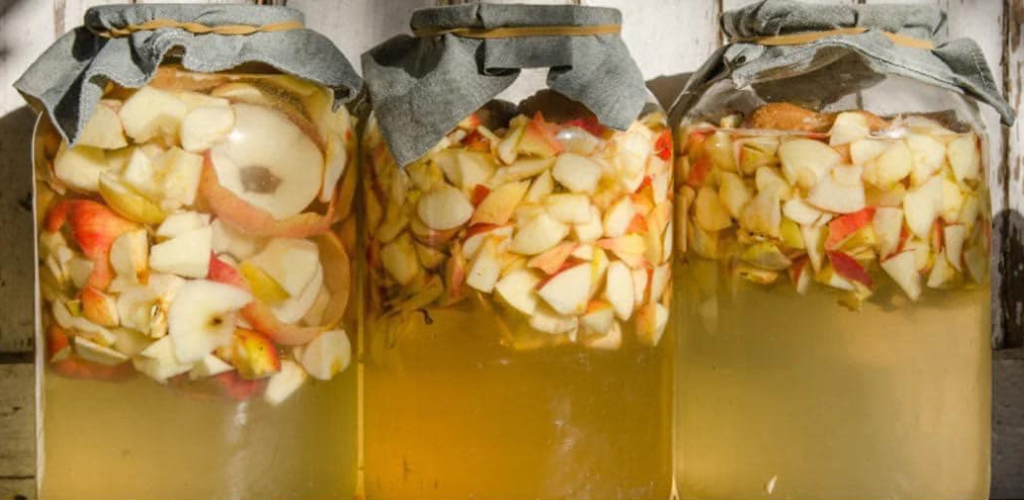
Place apple scraps in a clean glass jar, filling it halfway to allow room for expansion during fermentation. Cover the scraps with filtered water, making sure all the apple pieces are completely submerged. Add 1-2 tablespoons of sugar to each cup of water. Sugar fuels the fermentation process, converting the apple sugars into acetic acid, which gives vinegar its tangy taste.
Cover the jar properly
Use a cloth or paper towel to cover the jar, securing it with a rubber band. This allows air circulation and keeps out dust and bugs. Avoid using a metal lid, as vinegar can react with metal, affecting both the taste and the container.
Let the fermentation begin
Place the jar in a warm, dark place where it can ferment undisturbed. A cupboard works well. Stir the mixture every day to prevent mold from forming on top and to encourage even fermentation. The sugar will gradually turn into alcohol and, over time, into acetic acid, the main component of vinegar.
Check the vinegar’s aroma and strain
After about 1-2 weeks, you should notice a vinegary smell, indicating that fermentation is underway. At this stage, strain out the apple scraps, keeping only the liquid. Pour it back into the jar, cover it again with a clean cloth, and let it continue to ferment for another 3-4 weeks. Taste and store the vinegar
Taste the vinegar periodically to check if it has reached the desired acidity point. Once it’s ready, transfer it to a clean glass bottle for storage. Homemade vinegar lasts for several months if stored in a cool, dark place.
