19.03.2025
How to make homemade apple cider vinegar,
Making homemade apple cider vinegar (ACV) is a rewarding process that involves fermenting apples. Here’s a step-by-step guide:
Ingredients and Materials:
- Apples (organic are best): You can use apple scraps (cores, peels) or whole apples.
- Water (filtered or spring water is preferred)
- Sugar (optional, but speeds up fermentation): Brown sugar, cane sugar, or honey.
- Large glass jar or ceramic container (avoid metal)
- Cheesecloth, coffee filter, or a clean cloth
- Rubber band
Instructions:
- Prepare the Apples:
- Wash the apples thoroughly.
- Chop the apples into small pieces, or use apple scraps.
- If using whole apples, remove any bruised or rotten parts.
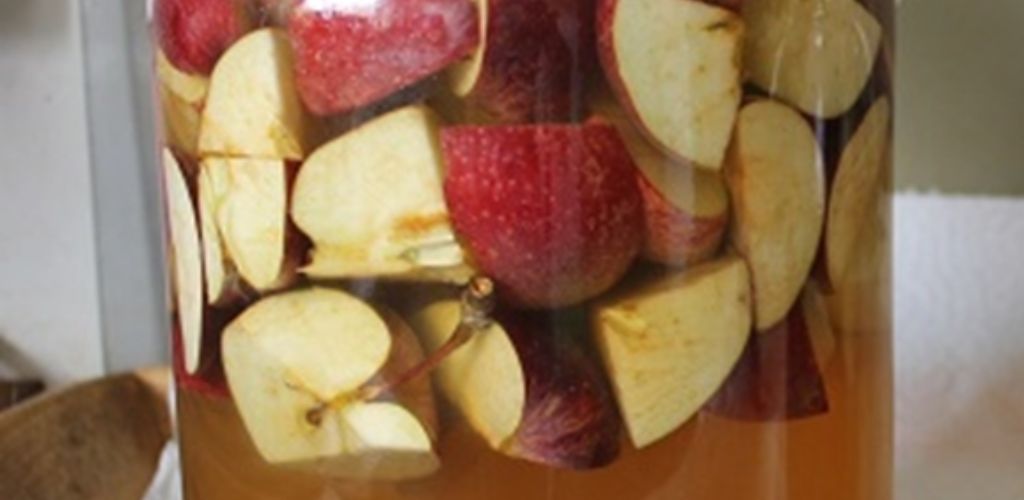
- Combine Apples and Water:
- Fill the glass jar or container about three-quarters full with the chopped apples.
- In a separate container, dissolve 2 tablespoons of sugar per quart of water (if using). This provides food for the yeast.
- Pour the sugar water (or plain water if omitting sugar) over the apples, ensuring they are fully submerged. Leave about an inch of headspace at the top of the jar.
- Cover and Ferment (First Stage):
- Cover the jar with cheesecloth, a coffee filter, or a clean cloth, and secure it with a rubber band. This allows air to circulate while preventing insects from getting in.
- Place the jar in a warm, dark place (around 60-80°F or 15-27°C) for 2-3 weeks.
- During this time, the natural sugars in the apples will ferment into alcohol. You’ll likely see bubbles and a foamy layer forming on the surface. Stir the mixture every few days to prevent mold growth.
- Strain the Liquid:
- After 2-3 weeks, strain the liquid through the cheesecloth or a fine-mesh sieve into a clean jar, discarding the apple solids.
- It should smell like alcohol.
- Ferment (Second Stage):
- Cover the jar again with the cheesecloth or cloth and secure it with a rubber band.
- Place the jar back in the warm, dark place for another 3-4 weeks, or longer.
- During this second fermentation, the alcohol will convert into acetic acid, which is what makes vinegar.
- You’ll notice a cloudy substance forming on the surface, called the “mother.” This is a beneficial bacteria culture that aids in the fermentation process.
- Test and Store:
- After 3-4 weeks, start tasting the vinegar. It should have a distinct vinegar aroma and a tart, acidic taste.
- If it’s not acidic enough, let it ferment for another week or two.
- Once it reaches the desired acidity, remove the “mother” (you can save it to start another batch) and strain the vinegar through a fine-mesh sieve or coffee filter to remove any remaining sediment.
- Store the finished apple cider vinegar in a clean, airtight bottle in a cool, dark place.
Tips and Considerations:
- Use organic apples whenever possible to avoid pesticides.
- Maintain a consistent temperature for optimal fermentation.
- Be patient! The fermentation process takes time.
- If mold forms on the top of the mixture during the first stage, discard the entire batch.
- The “mother” can continue to grow in the finished vinegar. This is normal and harmless.
- Pasteurization is optional, but will stop the fermentation process, and prevent any further changes to the vinegar.