Few know this technique to fix a plug when it is broken
Fixing a broken plug may seem like a complicated task reserved only for professional electricians, but the truth is that there are simple and effective techniques that anyone can learn and apply.
In this article, we will reveal one of those little-known but extremely useful techniques to repair a broken plug safely and efficiently.
With the right tools and a little patience, you’ll be able to fix this common problem in your home without spending money on repair services. Find out how to do it and be amazed at how easy it can be!
Materials Needed
- 1 Cutter
- 1 pliers
- 1 White Marker
- Welder
- Tin
- Heat shrinkable for cable
- Lighter
- Thread
- Glue (The Droplet)
- Insulating tape
Procedure
Step 1: Turn off the power
Before you start any repairs, make sure to disconnect the electrical current from the plug you’re fixing. This is crucial to avoid accidents.
Step 2: Disassemble the Plug
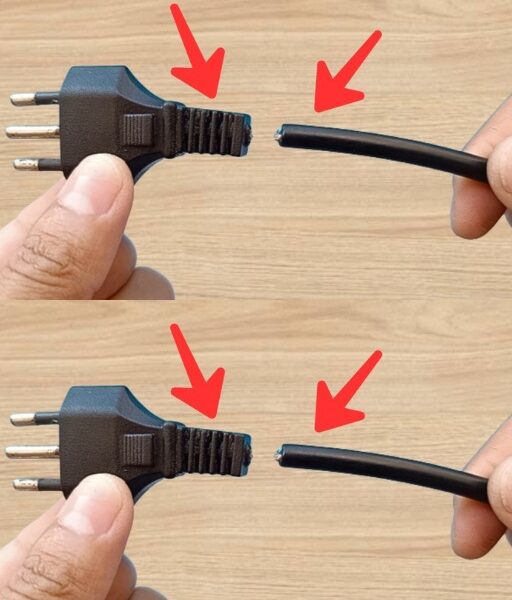
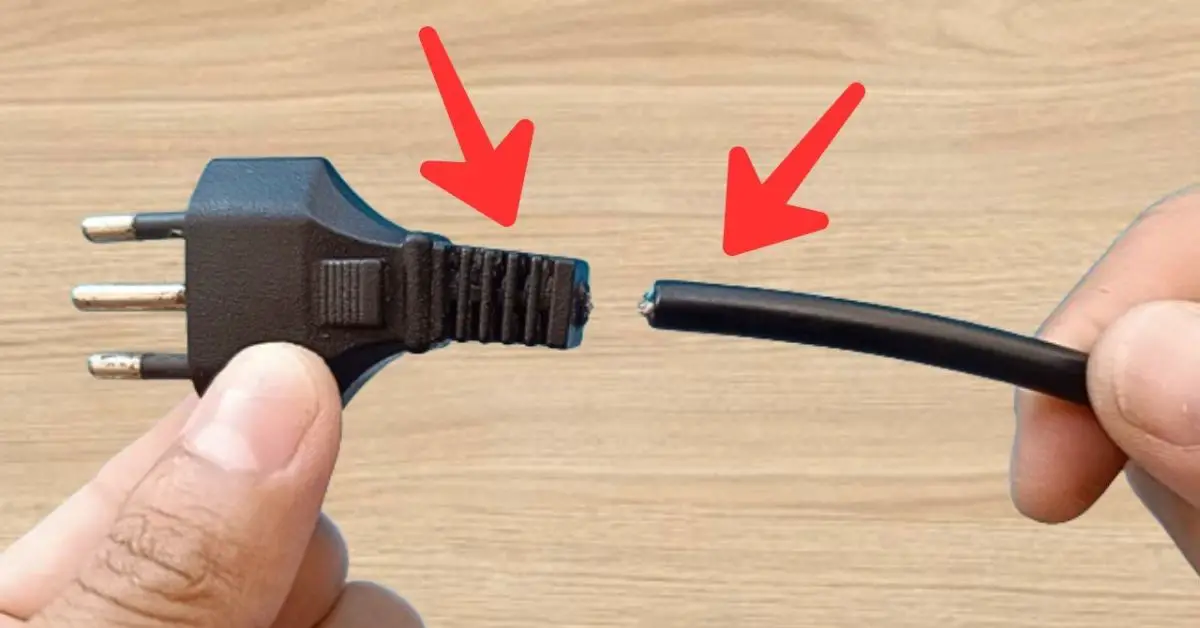
Use the knife to carefully cut around the broken plug and open it. Do this slowly so as not to damage the internal cables.
Step 3: Identify and mark the cables
With the white marker, point to the wires to remember their position and connection. This will help you assemble the plug properly after the repair.
Step 4: Disconnect the cables
Use pliers to disconnect the wires from the broken plug. If the cables are damaged, cut the affected part to work with a healthy cable segment.
Step 5: Prepare the cables
Strip the ends of the wires using the cutter to expose about 1-2 cm of the inner conductors. Be careful not to cut too many strands of the cable.
Step 6: Solder the wires
Heat the soldering iron and apply tin to the stripped ends of the wires. Then, attach the corresponding wires with tin, making sure the connection is firm and secure.
Step 7: Apply heat shrinkable
Cut a piece of heat shrink and slide it over the welded connection. Use the lighter to heat the heat shrink until it fits snugly around the weld, providing insulation and protection.
Step 8: Assemble the Plug
Once the connections are insulated and secure, reassemble the plug. Use the glue (The Droplet) to fix any loose parts of the plug and secure its structure.
Step 9: Secure with Electrical Tape
Wrap connections and any vulnerable areas with electrical tape to ensure greater protection against possible short circuits and to keep everything in place.
Step 10: Test the plug
After assembling and securing the plug, reconnect the power and test the plug to make sure it is working properly and that the repair has been successful.
By following these steps, you will be able to fix a broken plug safely and efficiently, using simple techniques and accessible materials.