24.03.2024
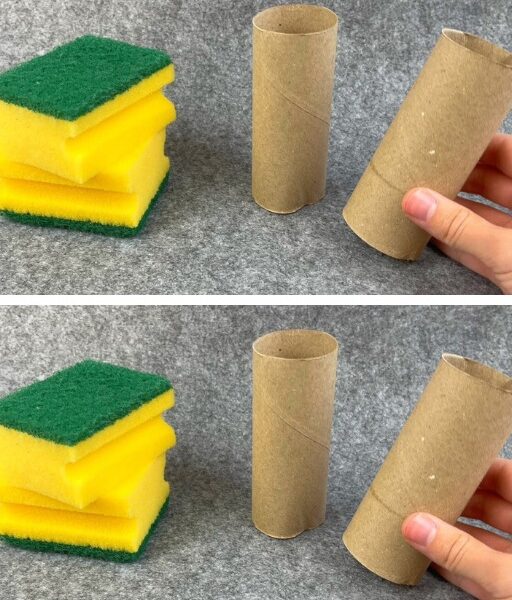
Look what I made with toilet paper rolls and dish sponges!
Welcome to a creative and practical craft session! This time around, you’ll be surprised to discover how amazing it can be to transform simple toilet paper rolls and dish sponges into something amazing.
With a touch of ingenuity and a couple of everyday materials, you can create something unique and functional. Would you like to discover how to bring these common objects to life in a whole new way?
Read on to explore this fascinating project and immerse yourself in the exciting world of home crafts. Let’s unleash our creativity!
Materials:
- Toilet paper tube or roll
- dish sponge
- 1 Scissors
- Glue
- 1 old stocking
- Fur plush fabric
- 3 wooden beads
- Floral elements (to decorate)
- Thread
- Felt cloth or similar (of your choice)
- thin wire
Watch the following video with the necessary materials and the procedure, let’s see how to do it on the “My recycling art” channel:
Step by Step:
- To begin, cut the sponge into small pieces (only the yellow part).
- Then, using scissors, we proceed to cut the cardboard toilet paper tube diagonally, forming a kind of cone. Using glue we will join it on its side edge.
- Next step, we cut the used stocking to the size of the cardboard tube and a little more than that. There, we introduce the tube and begin to fill with the sponge pieces on all sides.
- Next, we secure it well with the thread we have.
- Afterwards, we take the sintio or lency cloth or similar and give it a circular shape with the diameter of approximately a cup. Also, let’s cut another piece in a triangular shape, keep in mind that we are going to make a hat (as we can see in the video).
- Therefore, we will join each side to form the tube on the circular part and we will glue it. Likewise, we will make an opening in the circular part where we are going to insert the fine wire so that the hat remains upright.
- Once the hat is finished, before attaching it with glue to the tied bag we made, we are going to glue the plush fur fabric leaving a space to adhere the hat.
- Then, the hat is glued and a wooden bead is glued in the center. We continue working with the felt or lency cloth and cut 2 smaller triangular pieces, with this we will form a kind of little arms that will be attached to the bag under the hat.
- Finally, as a final touch, we glue an artificial flower to the back or side of the hat.
We now have a beautiful decoration ready for where you like most in your home!
